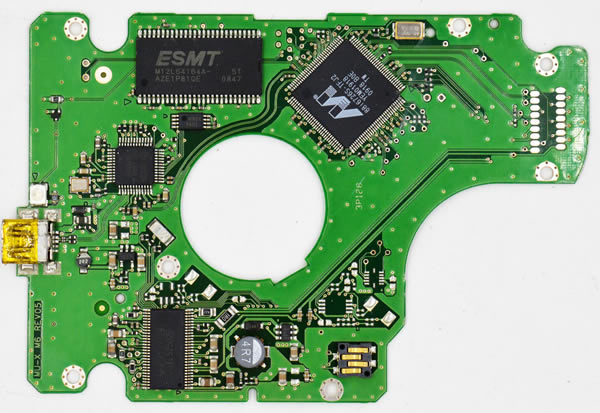
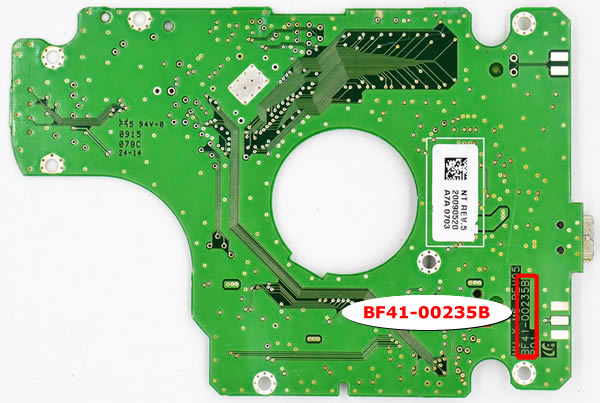
Swapping a Samsung HDD (Hard Disk Drive) PCB (Printed Circuit Board) follows a similar process to the general steps mentioned earlier. Here’s a guide specifically for Samsung HDD PCB swap:
- Identify the make, model of your Samsung HDD to ensure compatibility with the replacement PCB.
- Purchase a compatible replacement PCB specifically designed for your Samsung HDD model.
- Gather the necessary tools: a screwdriver, an anti-static wristband, and a clean, static-free workspace.
- Power down your computer and unplug it from the power source to avoid any electrical damage.
- Open your computer case and locate the Samsung HDD with the faulty PCB.
- Carefully disconnect the cables connected to the HDD, including the power and data cables.
- Remove any screws or brackets securing the HDD in place and gently remove it from the computer.
- Place the HDD on your static-free workspace and carefully unscrew and remove the faulty PCB from the HDD, taking care not to touch any of the electronic components.
- Attach the replacement Samsung PCB to the HDD, aligning it properly with the screw holes.
- Secure the replacement PCB with screws, ensuring it is firmly connected to the HDD.
- Reconnect the cables to the HDD, including the power and data cables.
- Carefully place the HDD back into its original position in the computer case and secure it with screws or brackets.
- Close the computer case and reconnect the power cable.
- Power on your computer and check if the Samsung HDD is recognized by the system.
- If recognized, ensure that all data is accessible and perform a thorough backup as soon as possible.


Remember to exercise caution during the process, as handling sensitive electronic components requires care. If you are unsure or uncomfortable with performing a PCB swap yourself, it is advisable to seek professional assistance or consult Samsung support for further guidance.


